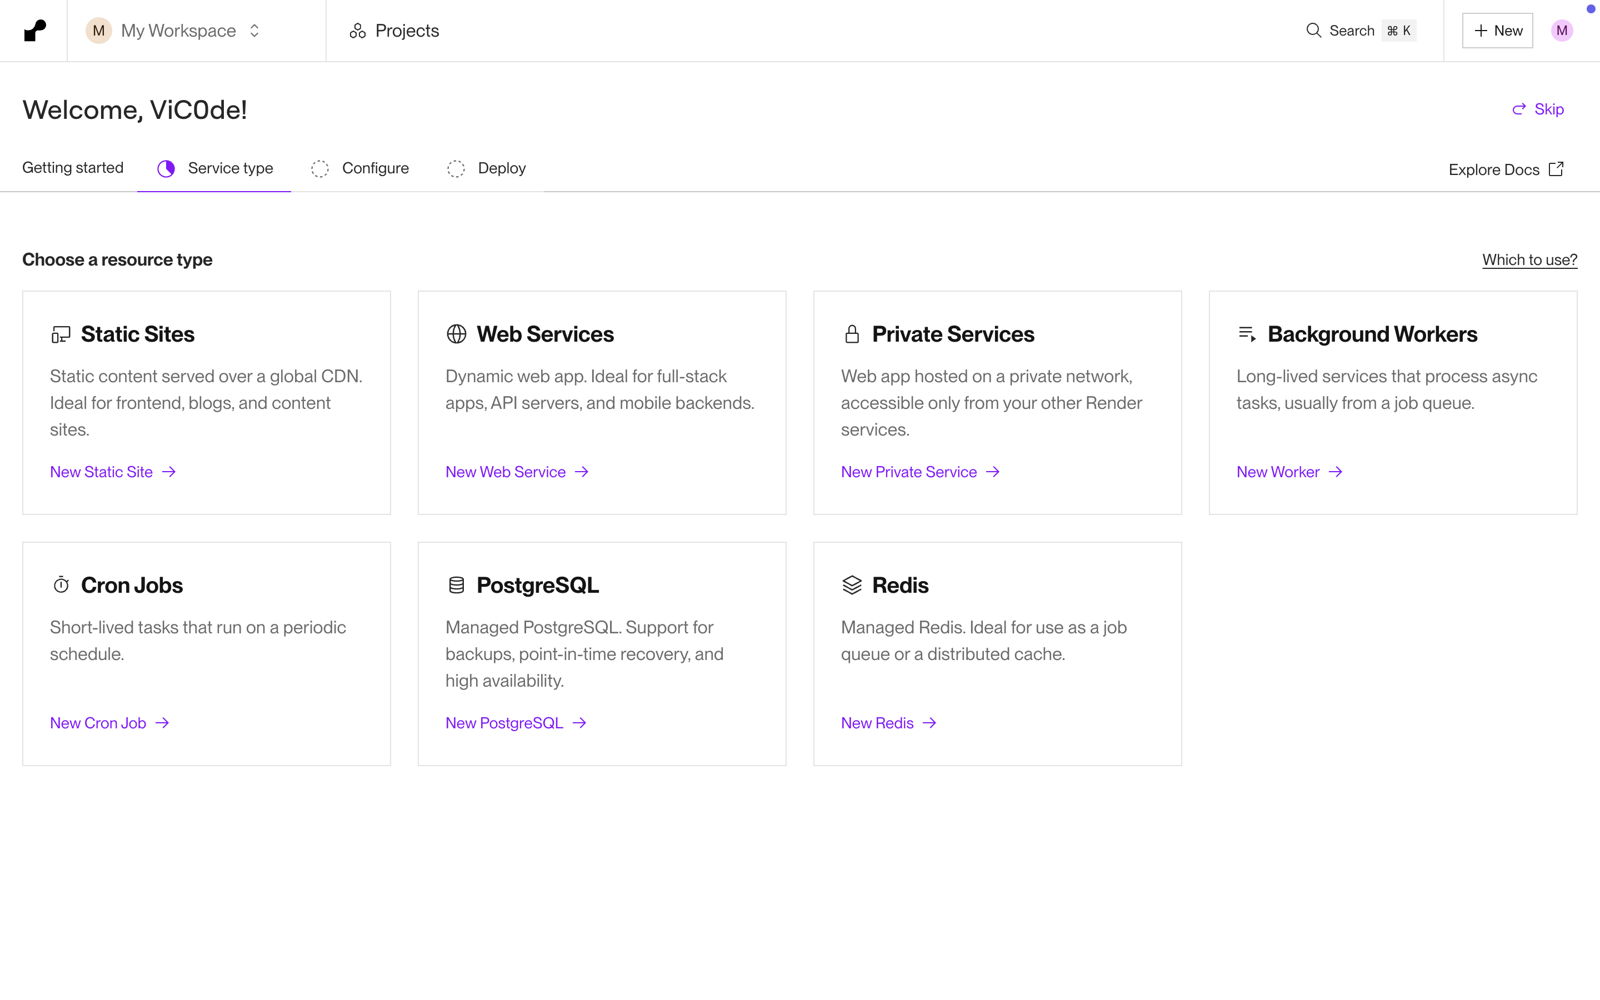
Once you have your backend code fully coded and pushed to GitHub. Now it's time to deploy to production and make the project live.
Start by creating an account on render.

Once you are done with account creation. We will then proceed with deploying the backend to production from the render dashboard.

Click on New Web Services to begin our deployment journey.
On the next screen, continue by selecting GitHub as our Git provider.

In the install render screen, continue towards the configure page.

Click on the Save button to give Render access to our GitHub account.
After the configuration details are checked in and saved.
We are good to go. Now we are back in the render dashboard. We can see our repository listed. Select the project we want to deploy. And continue by clicking the Connect button.

Now we are in the configuration page of our web service. Give our service a unique name.

In the Language dropdown, select Python 3 as our language. And keep the Branch to main. We can keep the Region to default.

For the build command we are passing in
pip install -r requirements.txtThis will ensure all our necessary packages used in the project are installed for the deployment.
For the start command, enter in the following command.
gunicorn -c gunicorn.conf.py main:appNow from Instance Type select Free.

Now your project doesn't use any API keys or secrets. You are good to go; just go ahead and click that shiny Deploy Web Service button.
If your project has a .env file and has credentials in there. Then you need to pass in those keys in the Environment Variables section.

For my project, I am using two environment credentials. I have passed them in, so now all that is left for me to do is click on that Deploy Web Service button to begin the deployment process.

We can say a word of encouragement and cheers happening for our first service deployment.
Our main area of focus is on the black panel of logs. Any error occurring in the process of deployment can be found here.

We can see it printing Your service is live. Cheers.
Our site is now live and can be viewed by visiting the URL provided.

You can check out the website here at the url
https://coolest-ai-haiku-poet-flask.onrender.com

To deploy further changes we make to our application. After pushing the code to GitHub, here in the same dashboard, click Manual Deploy. And select Deploy latest commit, to deploy your fresh changes out into the world.


Write a comment ...